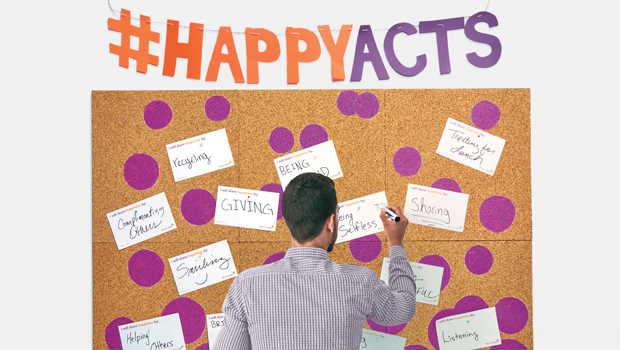
Creating your own Happiness Wall is simple and easy to do—have fun by getting crafty with borders and colors!
Celebrate the International Day of Happiness March 20!
To honor this day, the Live Happy team encourages you to join other happy activists around the world in hosting a Happiness Wall! It can be at your local school, office, business, park or other public spaces (with permission) where passersby can write how they share happiness with others. Embrace your creativity and inspire others in your community to change the world. It’s easy! Learn more at happyacts.org and tell us where you are putting up a wall at happyacts.org/map.
Painted Bulletin Board for Your Office
Gather these materials:
• 4–6 cork tiles (available at home improvement stores or Amazon.com)
• Chalk pencil
• Cookie cutter or Mason jar lid
• Acrylic craft paint
• Paintbrush
• Scissors
• Cardstock
• Hole punch
• String
• Finishing nails or adhesive strips
• Pushpins
Arrange your tiles on a flat work surface. Use the chalk pencil to trace circles as desired. Paint, let dry and add a second coat if desired.
Cut letters for a banner from cardstock, punch holes in the top of each and hang on string. Hang the tiles and banner with small finishing nails, adhesive strips or pushpins. Secure the cards in place with pushpins.
#HappyActs Banner for Your School
Gather these materials:
• 2 yards fabric plus two ¼ yards in contrasting colors
• Stitch Witchery
• Fusible webbing or fabric glue
• Scissors
• Cardstock
• Tape
• Safety pins
• Pushpins
Use the Stitch Witchery to make a 2-inch hem at the top of the large piece of fabric.
Cut out large letters and adhere to the base fabric with fusible webbing or fabric glue.
Cut 1-inch-wide pieces of cardstock and make paper chains, securing each loop in place with tape. Hang the banner with pushpins, add the chains and secure the cards in place using safety pins.


